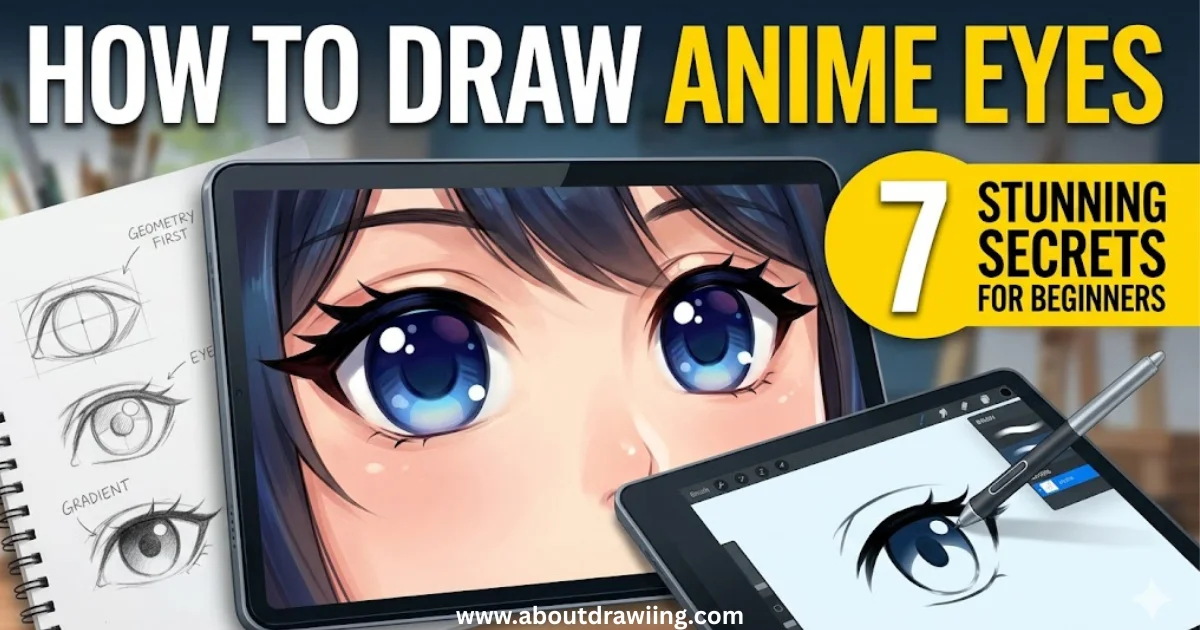
How to Draw Anime Eyes: 7 Stunning Secrets for Beginners
Table of Contents
Learning how to draw anime eyes is usually the very first goal for anyone interested in manga and Japanese animation. The eyes are undeniably the most expressive and important feature of any anime character.
Unlike realistic portrait drawing, anime relies heavily on exaggeration. The eyes are drawn much larger than life to convey deep, complex emotions directly to the viewer.
If you have ever tried sketching your favorite characters but felt that their faces looked empty or lifeless, the problem usually lies in the eyes. Capturing that signature glossy, emotional look requires specific techniques.
This ultimate guide will break down the exact process. By the end of this tutorial, you will know exactly how to draw anime eyes that pop off the page. Let’s unlock the stunning secrets of manga anatomy!
Why Figuring Out How to Draw Anime Eyes is So Important
In traditional western comics, characters often show emotion through heavily detailed facial muscles, wrinkles, and jawlines. Japanese manga takes a completely different approach.
Anime art styles simplify the nose and mouth to mere dots or simple lines. Because the rest of the face is so minimal, the eyes must carry 100% of the emotional weight of the scene.
Understanding how to draw anime eyes means understanding character design. A wide, round eye instantly tells the viewer that the character is innocent and energetic. A narrow, sharp eye indicates that a character is serious, mature, or perhaps a villain.
Once you master this single facial feature, designing your own unique characters becomes incredibly fun and much easier.
Secret 1: Start With the Basic Framework
The biggest mistake beginners make when learning how to draw anime eyes is jumping straight into the dark eyelashes and shiny highlights. You must always start with a basic geometric framework.
Lightly draw a rectangular box or a parallelogram on your paper. This invisible box will act as a strict boundary, ensuring your eye does not become distorted or lopsided as you add details.
Inside this box, sketch a large oval. This oval represents the iris (the colored part of the eye). In anime, the iris rarely forms a complete circle; the top and bottom are usually hidden by the eyelids.
Keep your pencil strokes incredibly light during this phase. You want to easily erase these guidelines once the final structural lines are confidently in place.
Secret 2: Emphasize the Upper Eyelash Line
The defining characteristic of almost every anime style is the thick, dominant upper eyelash line. When figuring out how to draw anime eyes, this line is your anchor point.
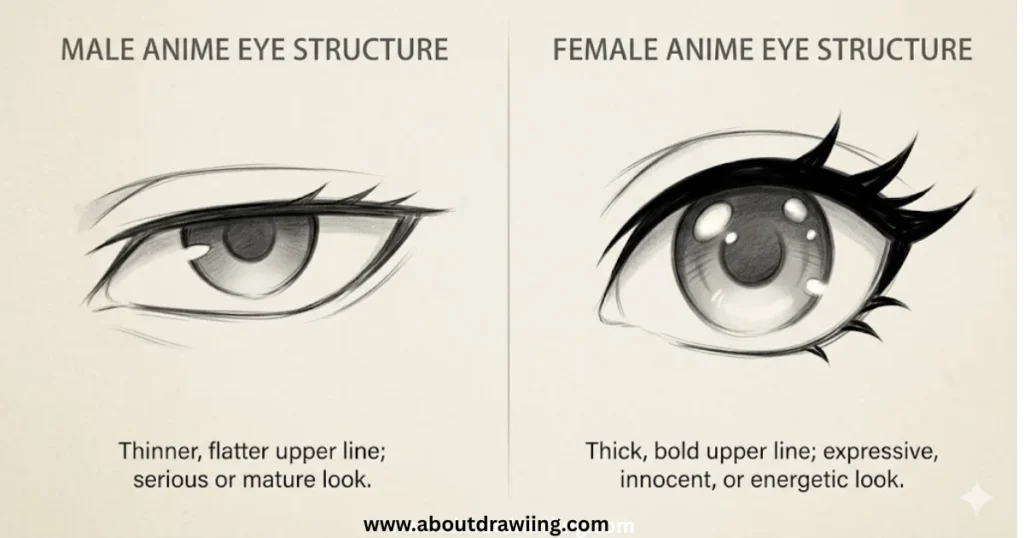
Draw a thick, sweeping curve across the top of your iris oval. In female characters, this line is typically drawn much thicker and often ends with sharp, triangular spikes representing eyelashes.
For male characters, the upper lash line is usually drawn a bit thinner and flatter, with fewer spiked details. This subtle difference instantly changes the gender and tone of the character.
Do not draw individual, realistic eyelashes. Anime relies on clumping eyelashes together into solid, stylized graphic shapes.
Secret 3: The Lower Eyelid is Minimal
In stark contrast to the heavy upper lash line, the lower eyelid in anime is usually incredibly minimal. Sometimes, it is barely even drawn at all!
When practicing how to draw anime eyes, represent the lower lid with a very thin, delicate line or just a tiny dash near the outer corner of the eye.
If you draw the lower eyelid too thick or connect it completely to the upper lash line, the eye will suddenly look much more realistic and lose that charming, stylized manga appearance.
Leaving the inner corner of the eye completely open and disconnected is a classic anime technique that allows the eye to look massive and highly expressive.
Secret 4: Draw a Distinct, Dark Pupil
Now that your outer frame is complete, it is time to focus on the inside of the eye. The pupil is the absolute darkest part of the eye and sits directly in the center of your iris oval.
Unlike realistic pupils which are always small circles, anime pupils can take many shapes. They can be large ovals, sharp diamonds, or even completely absent depending on the specific art style.
Draw your pupil and shade it in heavily with your pencil or digital brush. This dark center creates a powerful point of contrast that draws the viewer’s gaze directly into the character’s soul.
Secret 5: Catchlights Bring the Eye to Life
If there is one absolute requirement for knowing how to draw anime eyes, it is mastering the catchlights. Catchlights are the bright white reflections of light bouncing off the wet surface of the eyeball.
Without catchlights, an anime character will look lifeless, hypnotized, or even dead. Adding these bright white shapes instantly breathes life and energy into the drawing.
Draw one large circular highlight overlapping the top edge of the pupil. Then, draw a smaller secondary highlight near the bottom edge of the iris, opposite the main light source.
If you are working traditionally, you can leave these areas completely blank (using the white of the paper) or use a white gel pen at the very end to make them pop brilliantly.
Secret 6: Master the Signature Anime Gradients
A beautifully structured eye will still look flat if it is not shaded correctly. The secret to professional-looking manga art is utilizing smooth, rich gradients inside the iris.
When learning how to draw anime eyes, the rule of thumb for shading is: dark at the top, light at the bottom. The thick upper eyelid naturally casts a heavy shadow over the top half of the iris.
Using your pencil or digital blending tool, create a dark shadow at the top of the iris that slowly fades into a much lighter shade at the bottom.
This gradient creates a stunning, jewel-like effect. The bottom portion of the iris should be the brightest part of the eye, sitting right next to your lower white catchlight.
Secret 7: Spacing and Facial Proportions
You can draw the most beautiful single eye in the world, but if it is placed incorrectly on the face, the entire drawing will look terrible. Knowing how to draw anime eyes includes knowing where to put them.
The golden rule for facial proportions is the “one eye width” rule. The space between your character’s left eye and right eye should be exactly the width of one eye.
If the eyes are drawn too close together, the character will look angry or cross-eyed. If they are spaced too far apart, the character will look highly unnatural.
Always lightly sketch both eyes at the exact same time. Move back and forth between the left and right eye, step-by-step, to ensure they remain perfectly symmetrical and balanced.
Adding Eyebrows for Ultimate Emotion
The eye itself is only half of the emotional equation. You cannot fully understand how to draw anime eyes without including the eyebrows.
In anime, the eyebrows are often drawn straight through the character’s hair so the emotion is never hidden.
- Happy/Surprised: Draw thin, high arches sitting far above the eye.
- Angry/Determined: Draw the inner corners of the eyebrows angling sharply downward, almost touching the upper lash line.
- Sad: Angle the outer corners of the eyebrows downward, creating a gentle slope.
By combining the wide, glossy eyes with these simple eyebrow shapes, you can instantly communicate any emotion imaginable.
Final Thoughts on Your Manga Journey
You now possess the complete toolkit for mastering this highly sought-after art style. You understand that the secret lies in thick upper lashes, minimal lower lids, and high-contrast catchlights.
Remember that how to draw anime eyes is highly subjective. Every famous manga artist has their own unique variation of these rules. Once you master this basic foundation, do not be afraid to experiment with different shapes, sizes, and highlight patterns.
Grab your sketchbook and start filling entire pages with just eyes. Practice different emotions, different angles, and different character types. With a little consistency, your characters will be looking back at you with beautiful, vibrant life in no time!